Vinyl removal instructions
Ready to get those decals off? Luckily the process is pretty straight forward, especially if your decals are relatively new, high quality graphics. If you are removing old or reflective decals, the process will be more demanding and may require professional attention. Read through the steps below and let us know if you need clarification on any of the steps. Have fun!
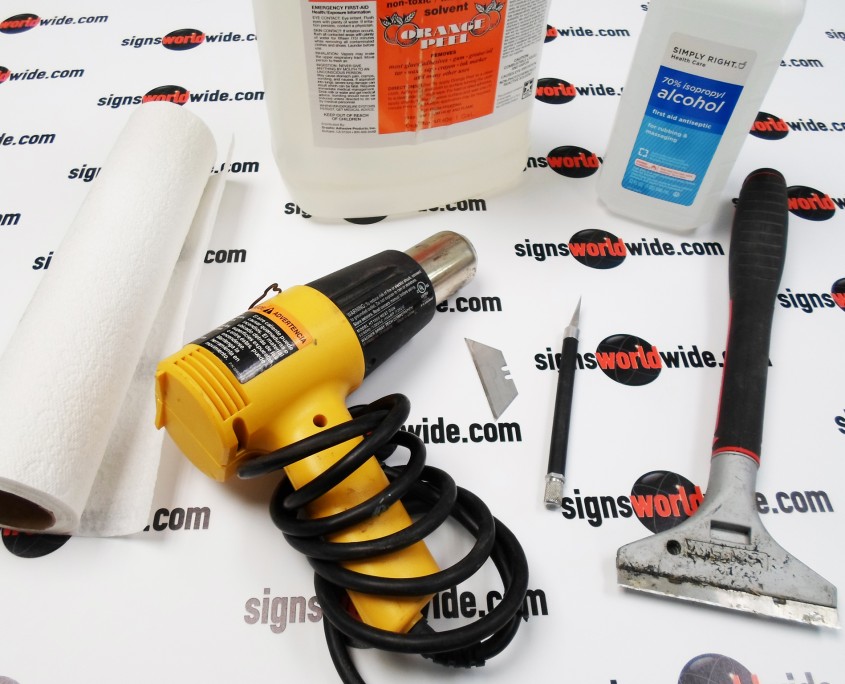
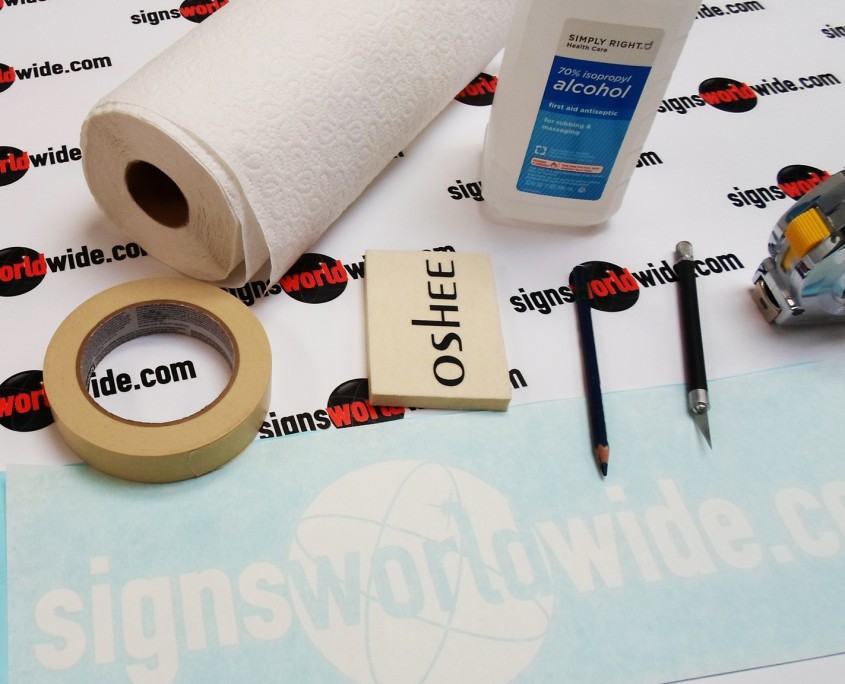
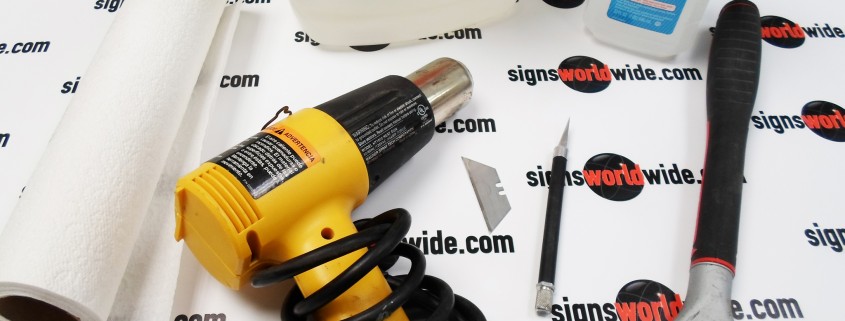
Required tools:
Sharp tool to lift the vinyl edge like a metal or plastic razor blade (Hobby knife available on our website under “Sign Categories/Sign Tools”). Cleaning solution. Waste basket.
Additional tools:
Heat gun or high temperature hair dryer. Adhesive remover.
Surface preparation:
Not much surface preparation is required, but it is more pleasant to work in a clean environment, so we recommend cleaning the removal area with isopropyl alcohol and a towel. If you are removing a large area of vinyl you may prefer washing the area with a bucket of water and mild detergent.
Temperature & Weather conditions:
Vinyl decals come off best when removed at warm temperatures; 65 degrees and up. Special care needs to be taken for temperatures outside of this temperature window. Cold surfaces may require pre-heating with a hair dryer or heat gun.
Removal Process:
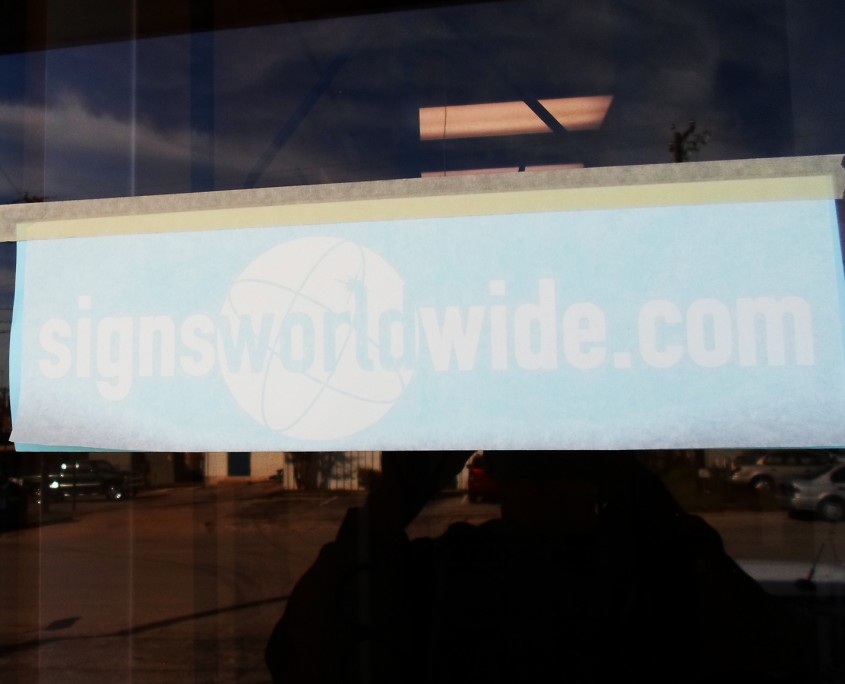
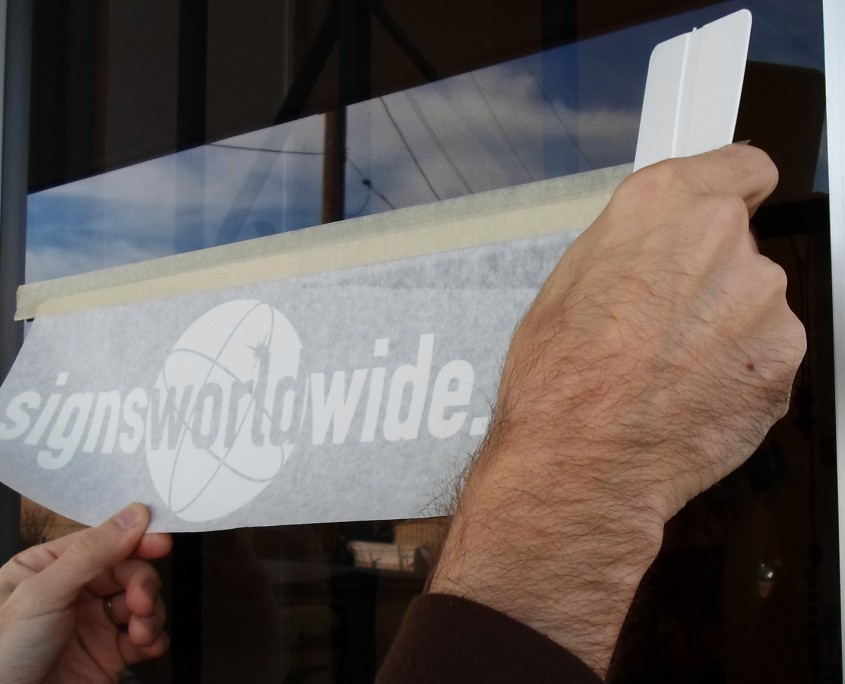
Once your surface has been prepared as noted above and your tools are in hand you are ready to remove vinyl!
Situation 1: If you are removing a decal from actual glass (not Plexiglas or polycarbonate [these surfaces will scratch]), you can use a razor blade to scrape the old decal off. Place a sharp tool between the vinyl and the installed surface and press the tool forward until the vinyl begins to lift away
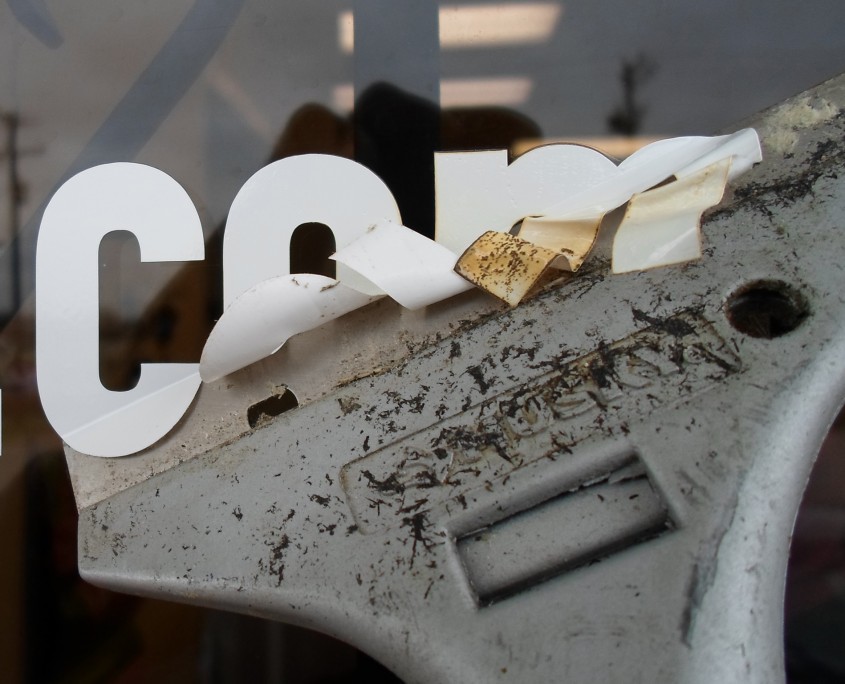
Continue this process until the desired elements have been removed
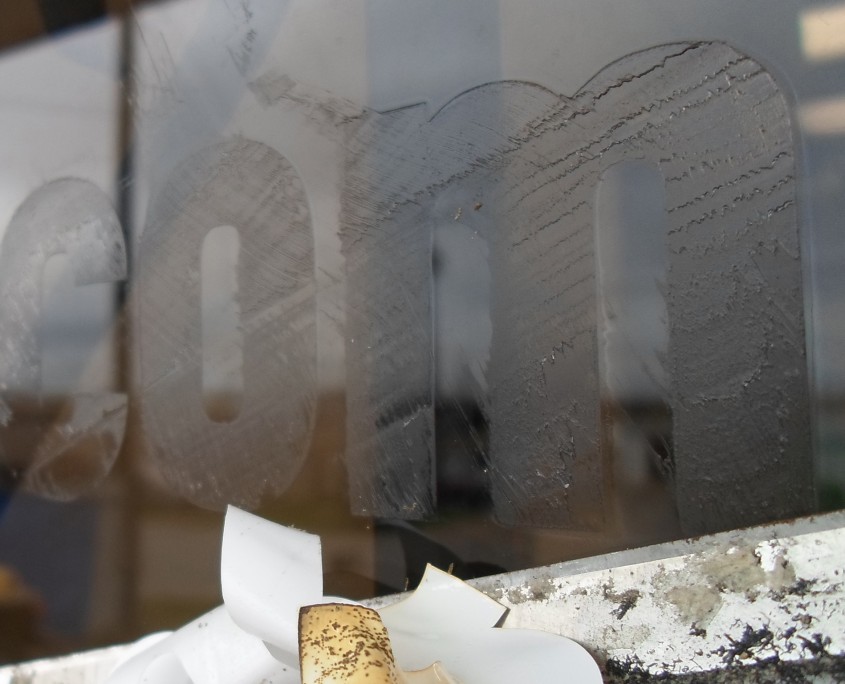
(special blade holders are available at tool stores if you are removing a large area of vinyl). Any adhesive left behind can be cleaned off with an adhesive remover
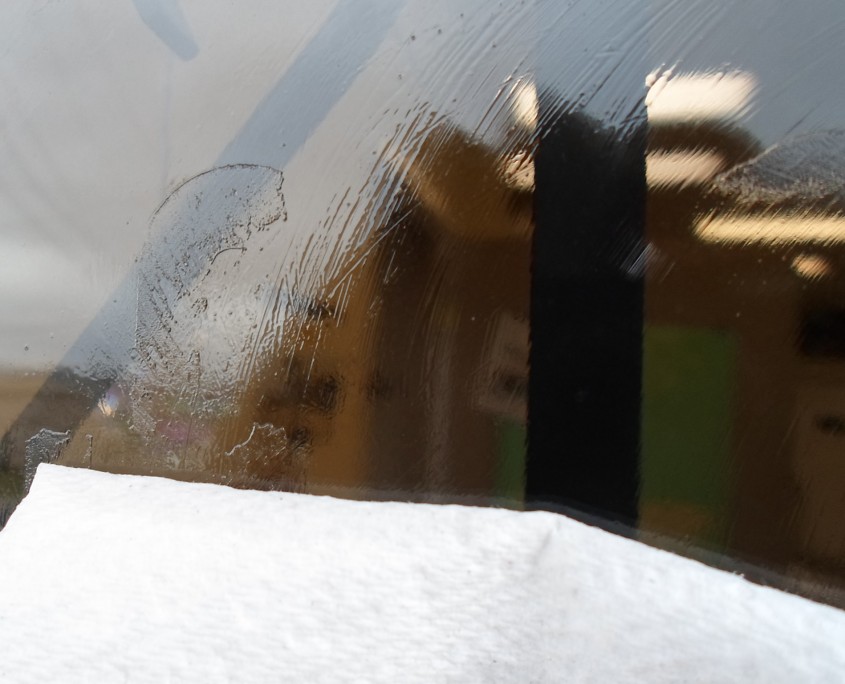
It is good to follow up the adhesive remover with isopropyl alcohol or window cleaner to leave the surface clean.
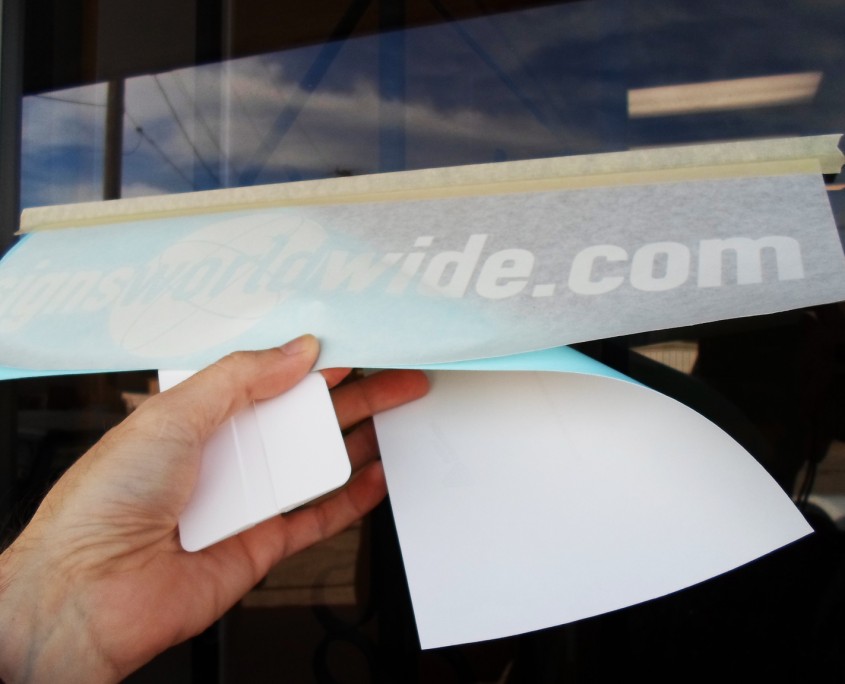
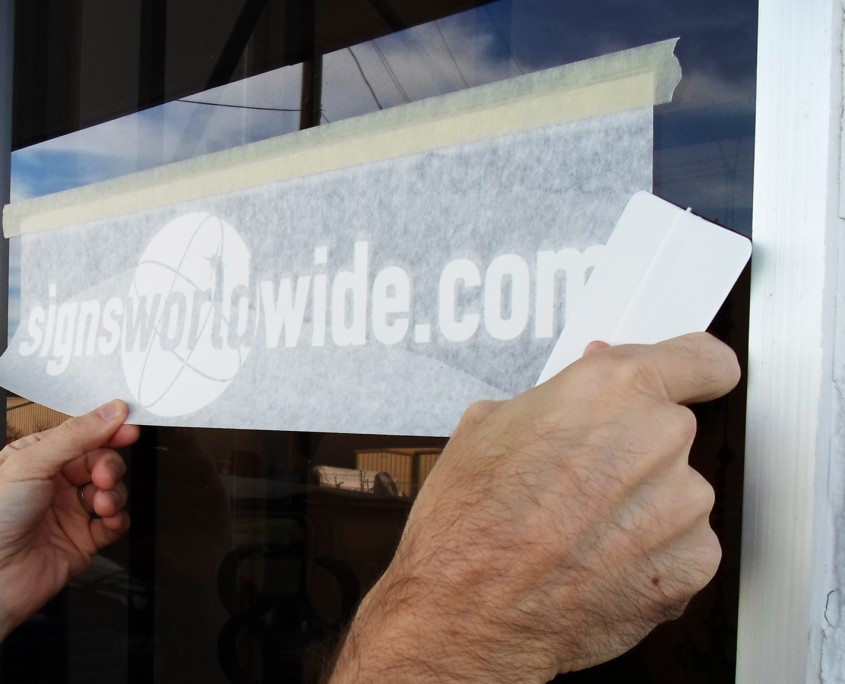
Situation 2:If you are removing a decal from any other surface (metal, plastic, wood, etc.), you will need to peel the vinyl by hand. You can test how well the vinyl will come off by putting a sharp tool (or your fingernail) between the vinyl and the surface it is stuck to, lifting the corner and seeing how well it comes up (take care not to scratch delicate surfaces when using sharp tools)

The vinyl should lift from the surface without much effort and leave little adhesive behind. If it doesn’t, the vinyl should be heated with a hair dryer or heat gun. Point the heat gun at the vinyl and begin heating the surface; keep the heat gun moving so you don’t overheat the area
Some surfaces can be burned or disfigured if the heat gun is left in one spot too long. Heat the vinyl to loosen the adhesive and make the vinyl more pliable. If you see bubbles form in the vinyl or it starts to burn, the vinyl is getting too hot
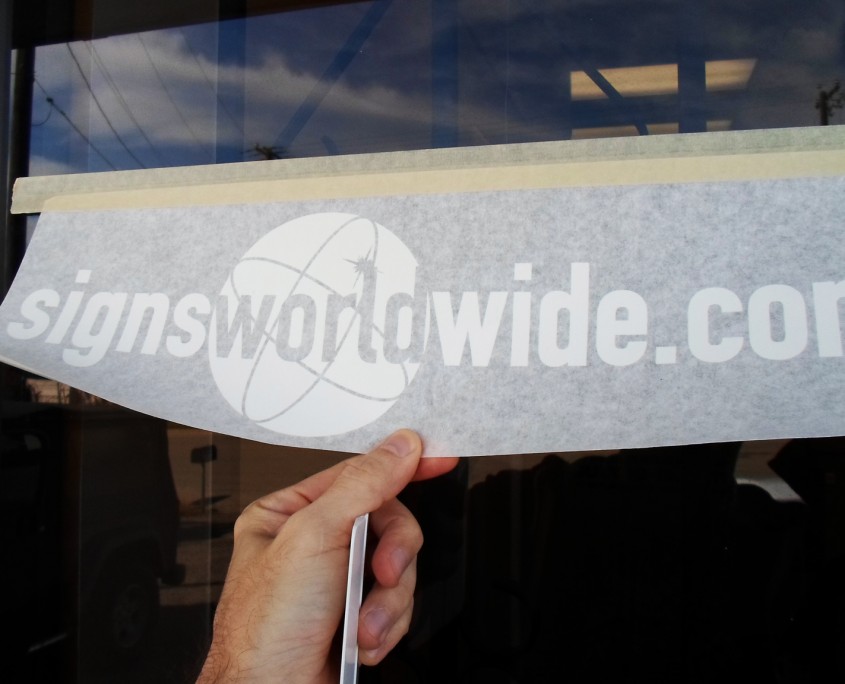
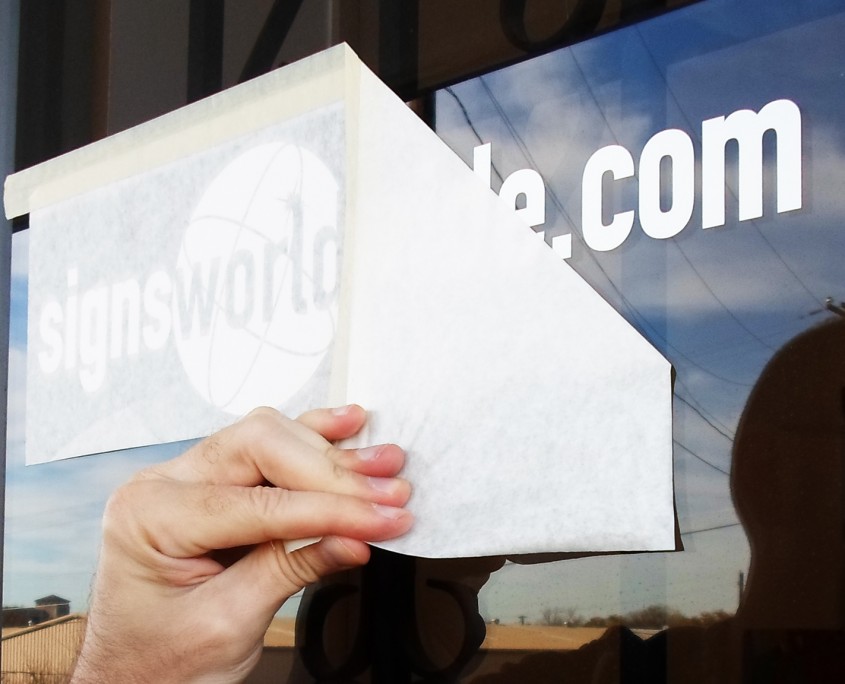
Once the vinyl has been heated, try picking up a corner again. If it is still resisting, apply a little more heat. When heated properly, the vinyl will lift easily and often take most of its adhesive along with it

Continue this process until all of the desired decals have been removed. If there is adhesive on the surface, use an adhesive remover to remove the remaining glue. Test the adhesive remover in an inconspicuous area to make sure it doesn’t damage the surface. Some adhesive removers can also act as paint removers! It is good to follow up the adhesive remover with isopropyl alcohol or window cleaner to leave the surface clean.
That’s it! Hopefully your decal has been removed successfully without any damage to the removal surface. Feel free to contact us with any questions or to let us know if you found the tutorial helpful. Have a great day!