
Vinyl application instructions
Ok, so you’ve bought some decals online and now you may be wondering what to do next. Don’t fear, decal application is not terribly complicated, but there are some steps that may help the process go a little smoother. Read the steps below and gauge your capabilities accordingly. Chances are you will fly through it without much trouble, but don’t feel bad about contacting a local professional to handle the install if you are not confident in your abilities. The graphics do cost money, so depending on what was spent it may be more logical to have an experienced person applying the decals. Most areas have local sign shops with experienced installers. As always, feel free to contact us for more clarification if you get stuck. Good luck!
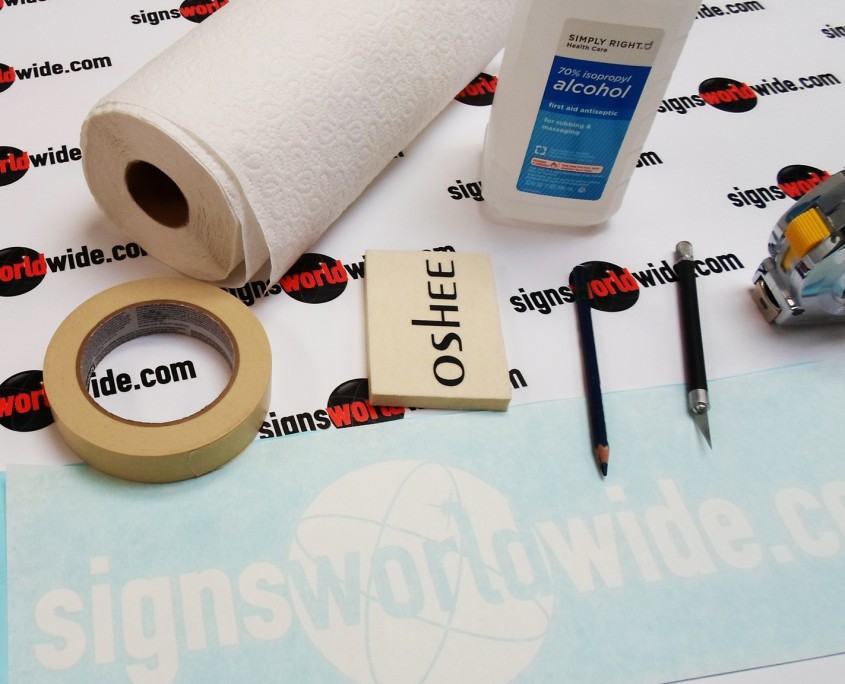
Required tools:
Decal to be applied. Stiff plastic applicator or soft felt applicator (both available on our website under “Sign Categories/Sign Tools”). Cleaning solution.
Additional tools:
Masking tape. Measuring tool. Hobby knife (also available on our website). Heat gun. Application fluid.
Surface preparation:
Thoroughly clean the application surface with isopropyl alcohol. If the surface is exceptionally dirty, use an appropriate degreaser and then wipe clean with isopropyl alcohol. The success of decal adhesion depends largely on getting the surface as clean as possible. Do not wax the surface or the decal will be adhering to the temporary wax surface instead of the intended surface. Vinyl decals adhere best to clean glossy surfaces.
Temperature & Weather conditions:
Vinyl decals work best when applied to surfaces that are 65-75 degrees. Special care needs to be taken for temperatures outside of this temperature window. Cold surfaces may require pre-heating with a hair dryer or heat gun. If your decal came with transfer tape, special care will need to be taken during transfer tape removal to avoid pulling the decal off of the application surface. Hot temperatures may require the addition of an application fluid depending on how large the decal is. Hot surfaces will make the decal excessively “grabby” and the chance for wrinkles or air bubbles increases.
Decal types:
Vinyl decals are most commonly either cut into individual characters held together by a temporary “transfer tape” or they are printed as one complete decal. Printed decals can be applied with or without transfer tape. Smaller “bumper sticker” sized decals can usually be applied by hand without transfer tape, while larger decals can sometimes benefit from the additional support. Use caution with plastic squeegees when applying unlaminated decals without transfer tape to minimize scratches.
Application Process:
Once your surface has been prepared as noted above and your tools are in hand you are ready to install! Decide where you want the decal to be installed. Use a measuring tool to make sure it is centered where you like and level to your preference. Then use one of the two methods mentioned below:
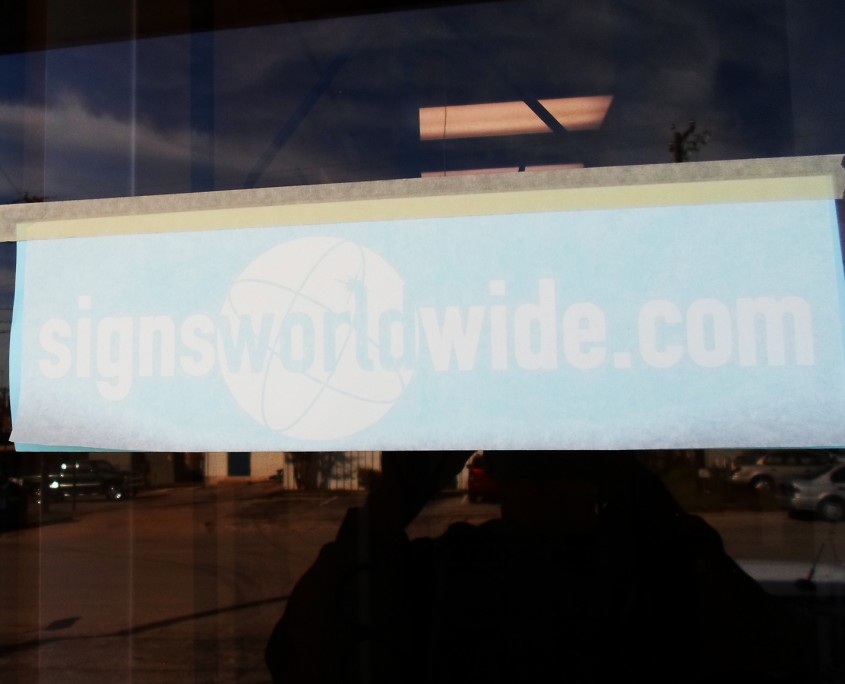
(Tape-Hinge method)
Tape hinges are a popular way to install decals. The styles vary from top or bottom hinging, butterfly hinging and left or right hinging. This simply involves using a temporary masking tape “hinge” which keeps the graphics aligned and allows you to swing the decal away from the install surface while the backing paper is removed. This temporary hinge can be placed along the top (top hinge [illustrated in this tutorial]), across the middle (middle hinge), or a (left or right hinge). Apply your preferred tape hinge, swing the decal away from the install surface, being careful not to pull the hinge off,
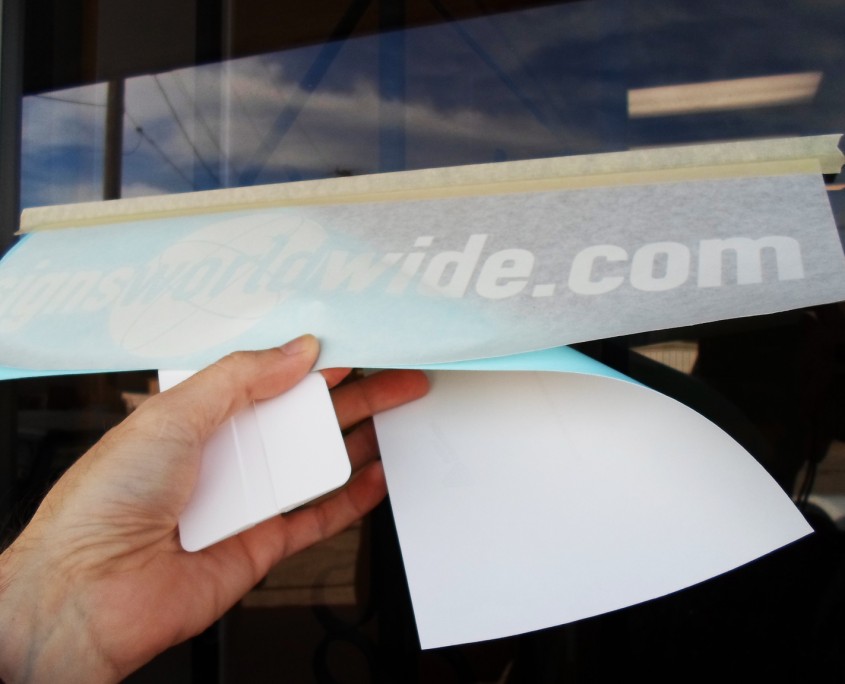
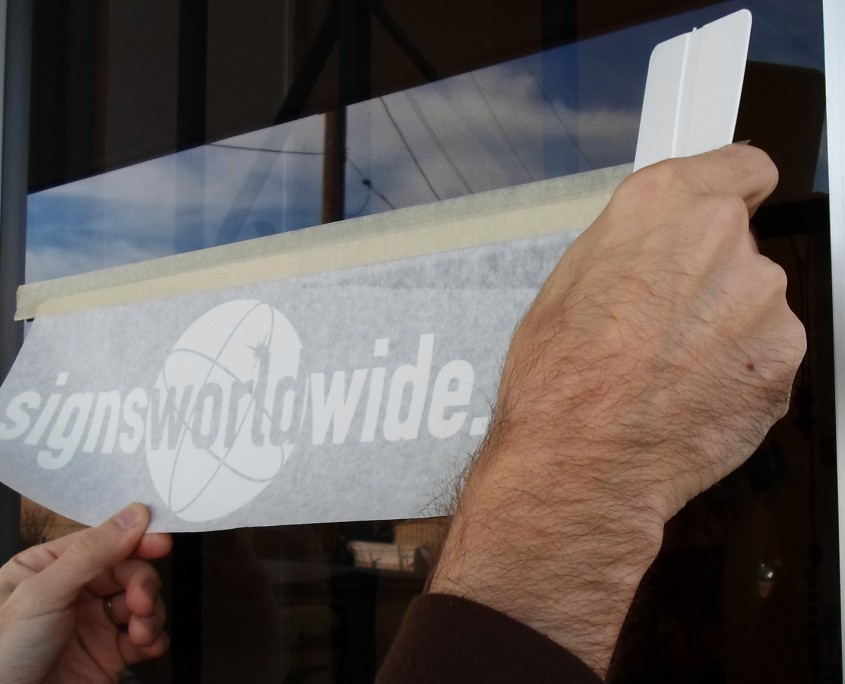
carefully peel the backing paper away from the decal surface exposing the adhesive, then bring the decal near the install surface again holding it 1/4-1/2″ off the surface before beginning to squeegee the decal down.
Use a “V” pattern when squeegeeing from sided to side

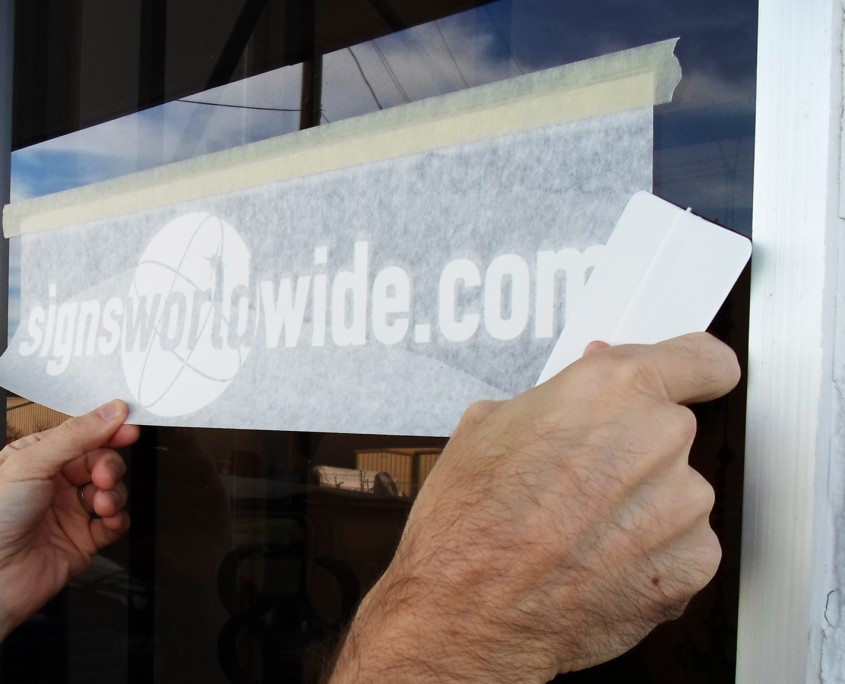
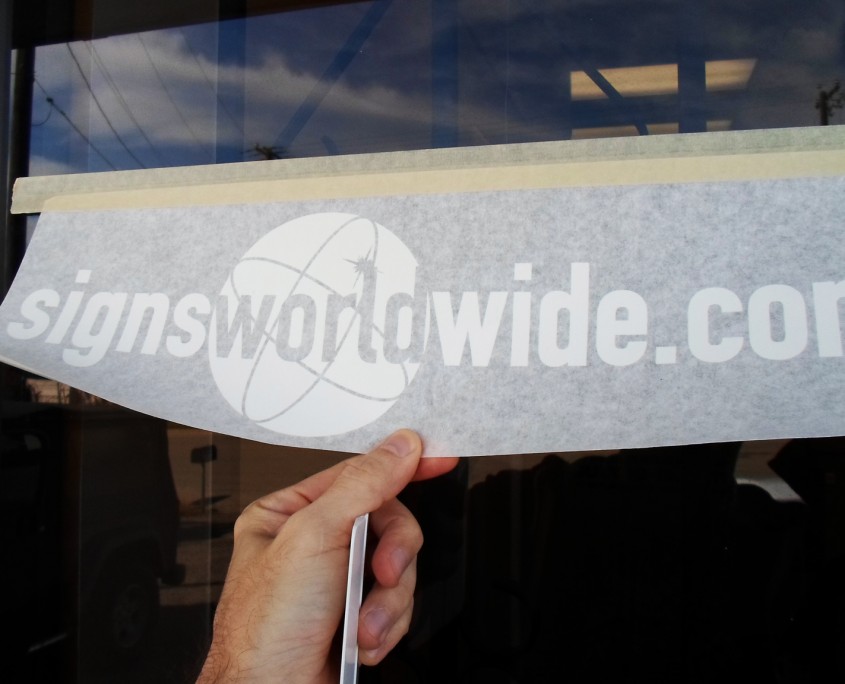
Confirm that all areas of the decal have been squeegeed down and you can remove the transfer tape if your decal came with transfer tape
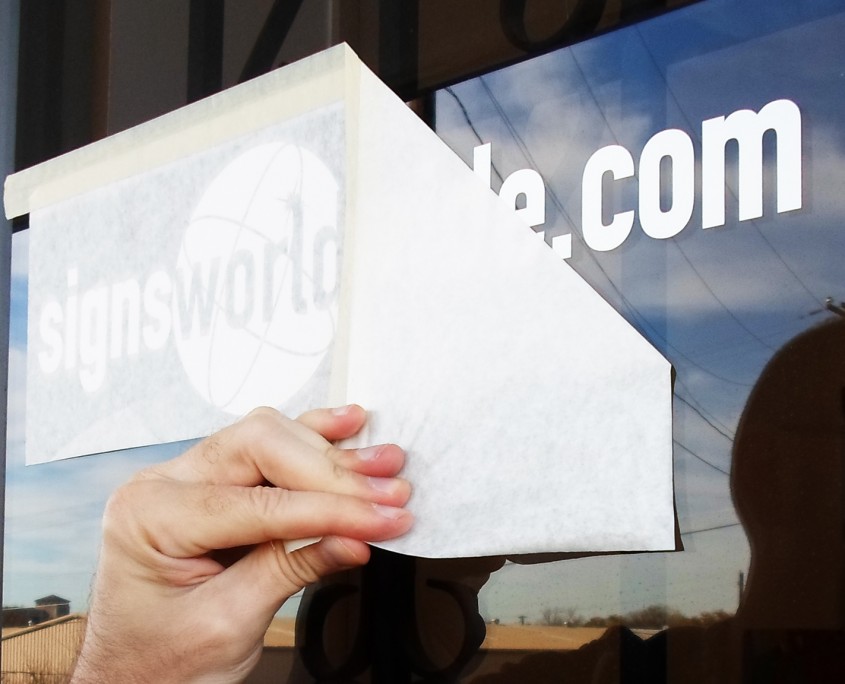

Remove transfer tape carefully by starting in one corner and peeling the tape back so that it rides alongside itself. If the tape is pulled hard at a 90 degree angle the decal may be pulled up.
(Expose and go method)
More experienced people may prefer to simply remove the backing paper, expose the adhesive and go for it. This works well as long as you keep the vinyl from “pre-tacking” to the install surface. Keep the decal “floating” over the install surface until the squeegee tool presses it firmly into place. This will minimize any air bubbles. Use a “V” pattern when squeegeeing from side to side. This will carry the air away in a uniform and predictable manner. Confirm that all areas of the decal have been squeegeed down and you can remove the transfer tape if your decal came with transfer tape. Remove transfer tape carefully by starting in one corner and peeling the tape back so that it rides alongside itself. If the tape is pulled hard at a 90 degree angle the decal may be pulled up.

That’s it! Hopefully you now have your decal applied to the surface and your message is now getting to work. Feel free to contact us with any questions or to let us know if you found the tutorial helpful. Have a great day!
